Justina G, a blogger on toolittleones.com, describes the fun her daughter has with homemade microwave puffy paint.

I’ve been pinning loads of posts on microwave puffy paint for a while now. However, I’ve been putting off trying out this activity with my daughter, Crystabel, 3, mainly because I did not look forward to the mess!
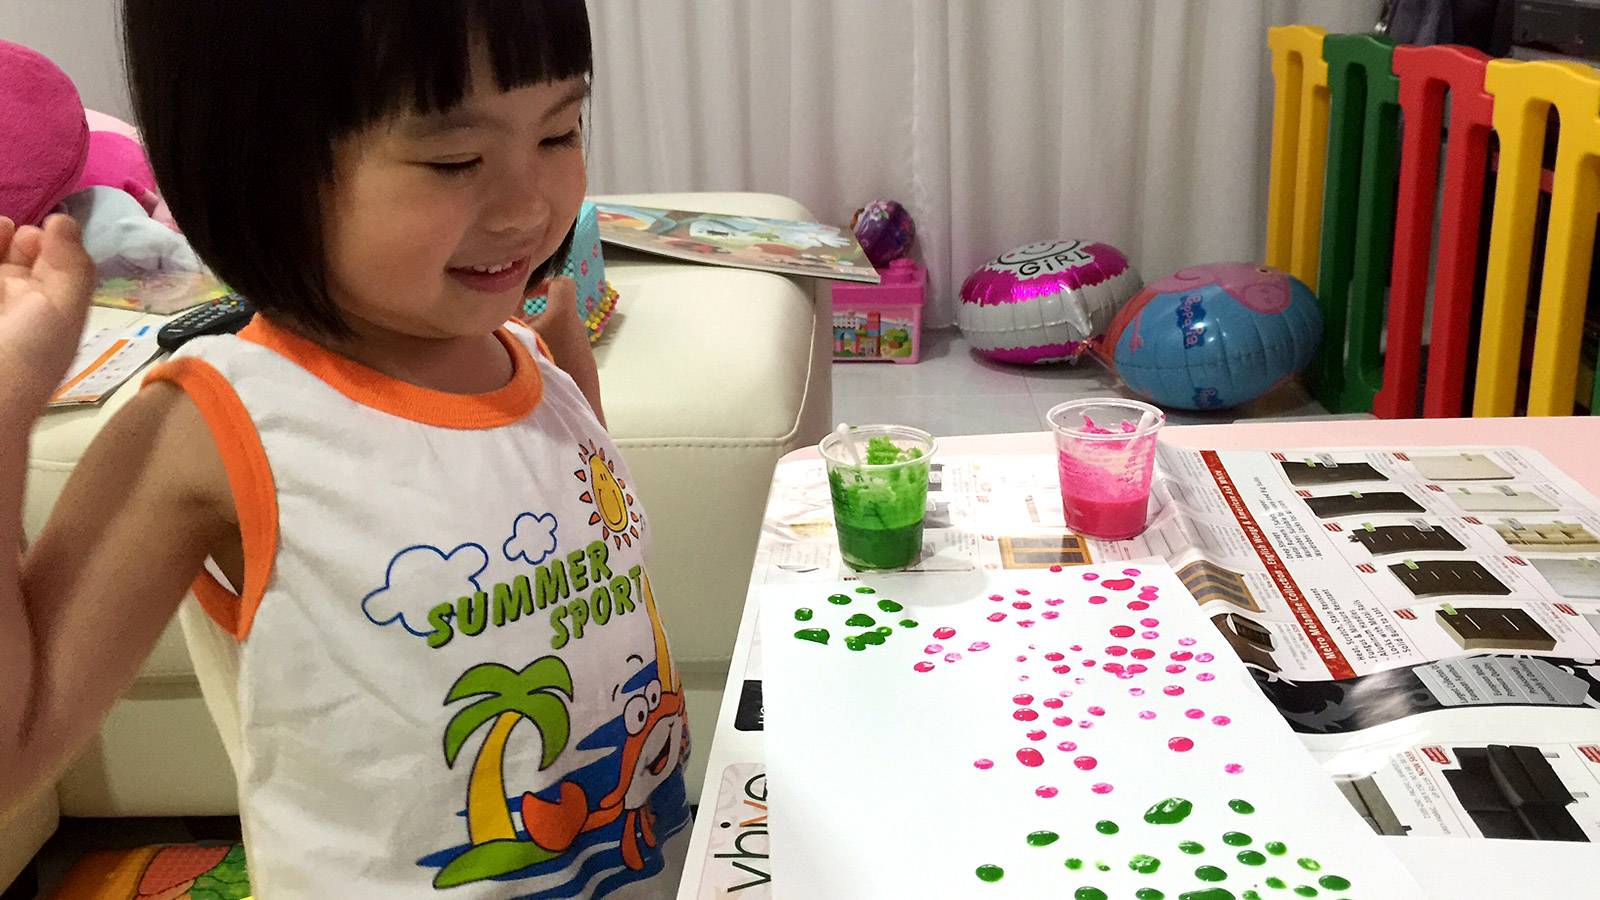
But now that she is able to do activities without turning the house upside-down, I finally pulled out all the materials needed for this and got up to some Q-tip painting fun with her today.
I love how the bright colours and 3D effect of the paint makes it so beautiful! But since this was our first time, I decided to just let her splatter blobs of paint on the paper to explore the texture.
The paint was really easy to put together and you only need three ingredients you can easily find in your kitchen:
1 tablespoon self-raising flour
1 tablespoon salt
Food-grade colouring of your choice
2 tablespoons water
Plastic cups
Directions:
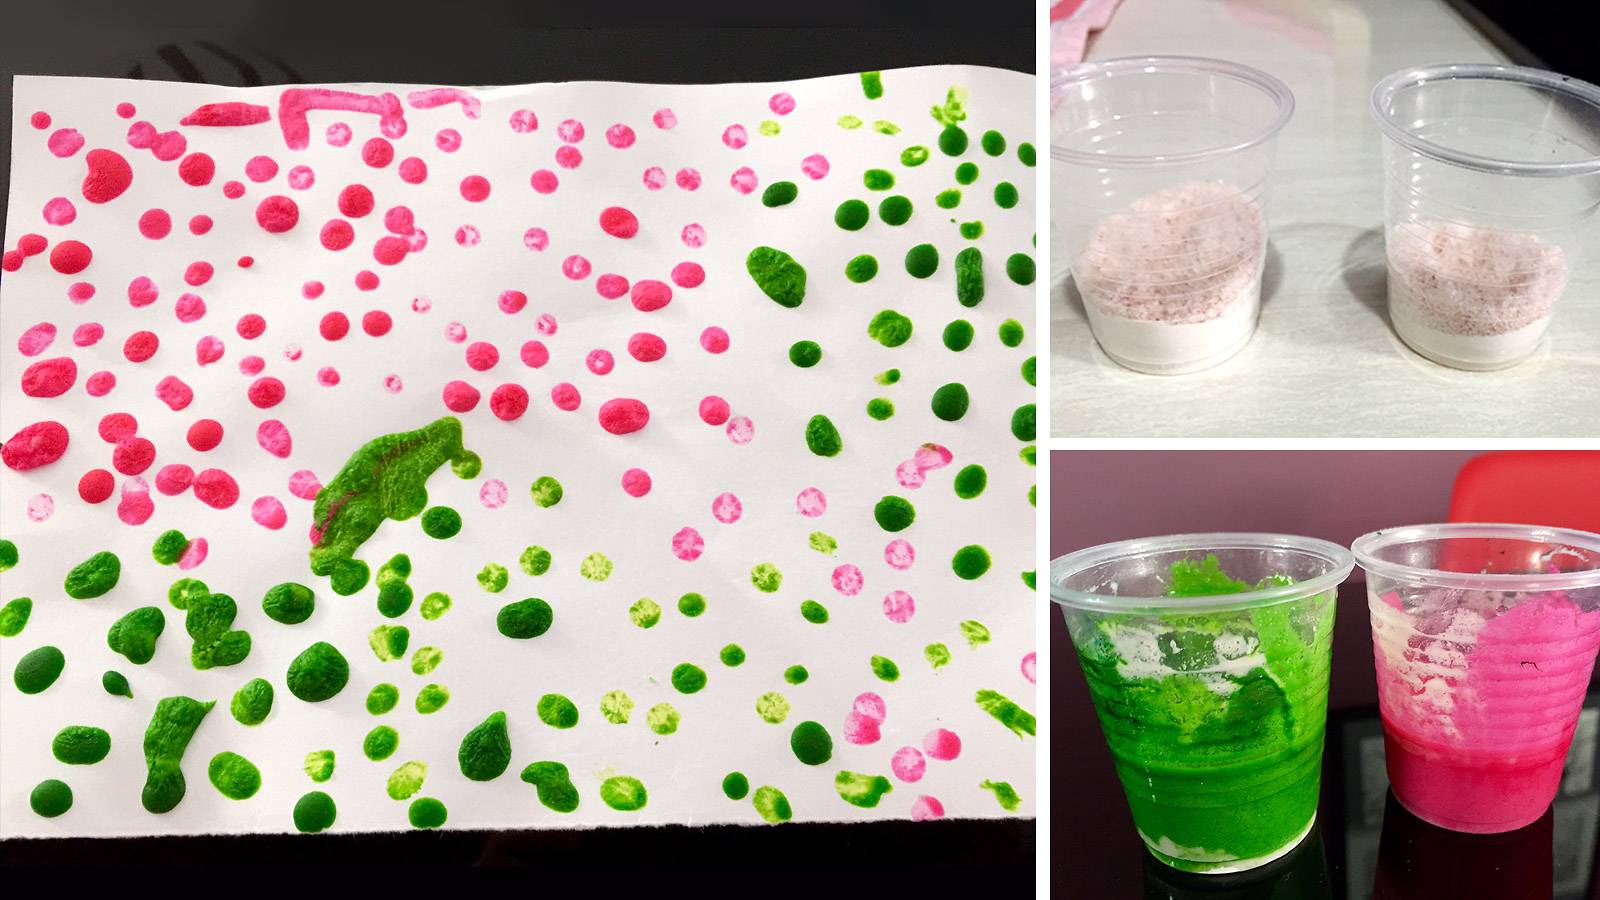
1) Scoop self-raising flour and salt into a plastic cup.
2) Mix in some water (I used 2 tablespoons as my base, and added more until I got the desired, yoghurty consistency).
3) Add some food-grade colouring and mix well.
4) Let your kiddo have fun with the paint!
5) Once done, microwave their artwork on high for 30 seconds. Voila!
You can get your kids to paint on regular drawing paper or paper plates — just make sure that the material used can be microwaved safely.
It’ll be easier for kids to “draw” their designs if you have squeeze bottles ― just more clean-up required later, that’s all).
Do remember to line the table with rough paper/old newspaper.
Justina G is a working mum to Crystabel, 3. She blogs on toolittleones.com about parenting, her daughter and fun activities. Photos courtesy of Justina G.
Check out these MUM SAYS stories...
MUM SAYS Kids’ crafts = Messy but fun